
Building Your First Workflow
Follow along with this walkthrough to learn the basics of building a workflow within brewlytics.
Landing Page & Login
Section titled “Landing Page & Login”The landing page is the main entry point into brew — you can reach it even if you don’t yet have a brew account. Customers often have their own branded landing page for their instance; the main brewlytics landing page is at brewlytics.com.
From the landing page, follow the link through to your instance’s login page.
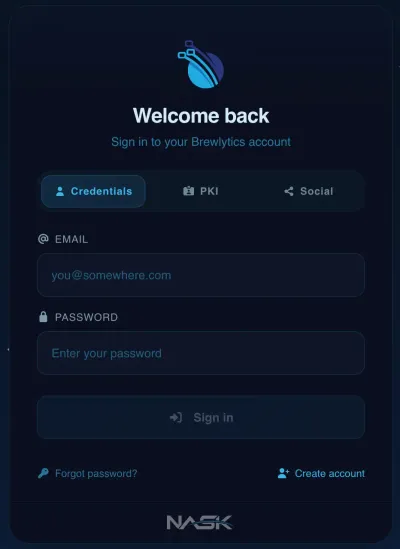
Login is organized into tabs: Credentials for a username and password, PKI and CAC for certificate-based login, and Social for OAuth providers (GitLab, GitHub, Google, LinkedIn, Twitter, Facebook). Pick whichever tab matches how your instance authenticates you. If you don’t have an account yet, use the “Sign up Now!” option and wait for approval.
Dashboard
Section titled “Dashboard”Once you’re logged in, brew takes you to the Dashboard — the main jumping-off point for everything inside the application.
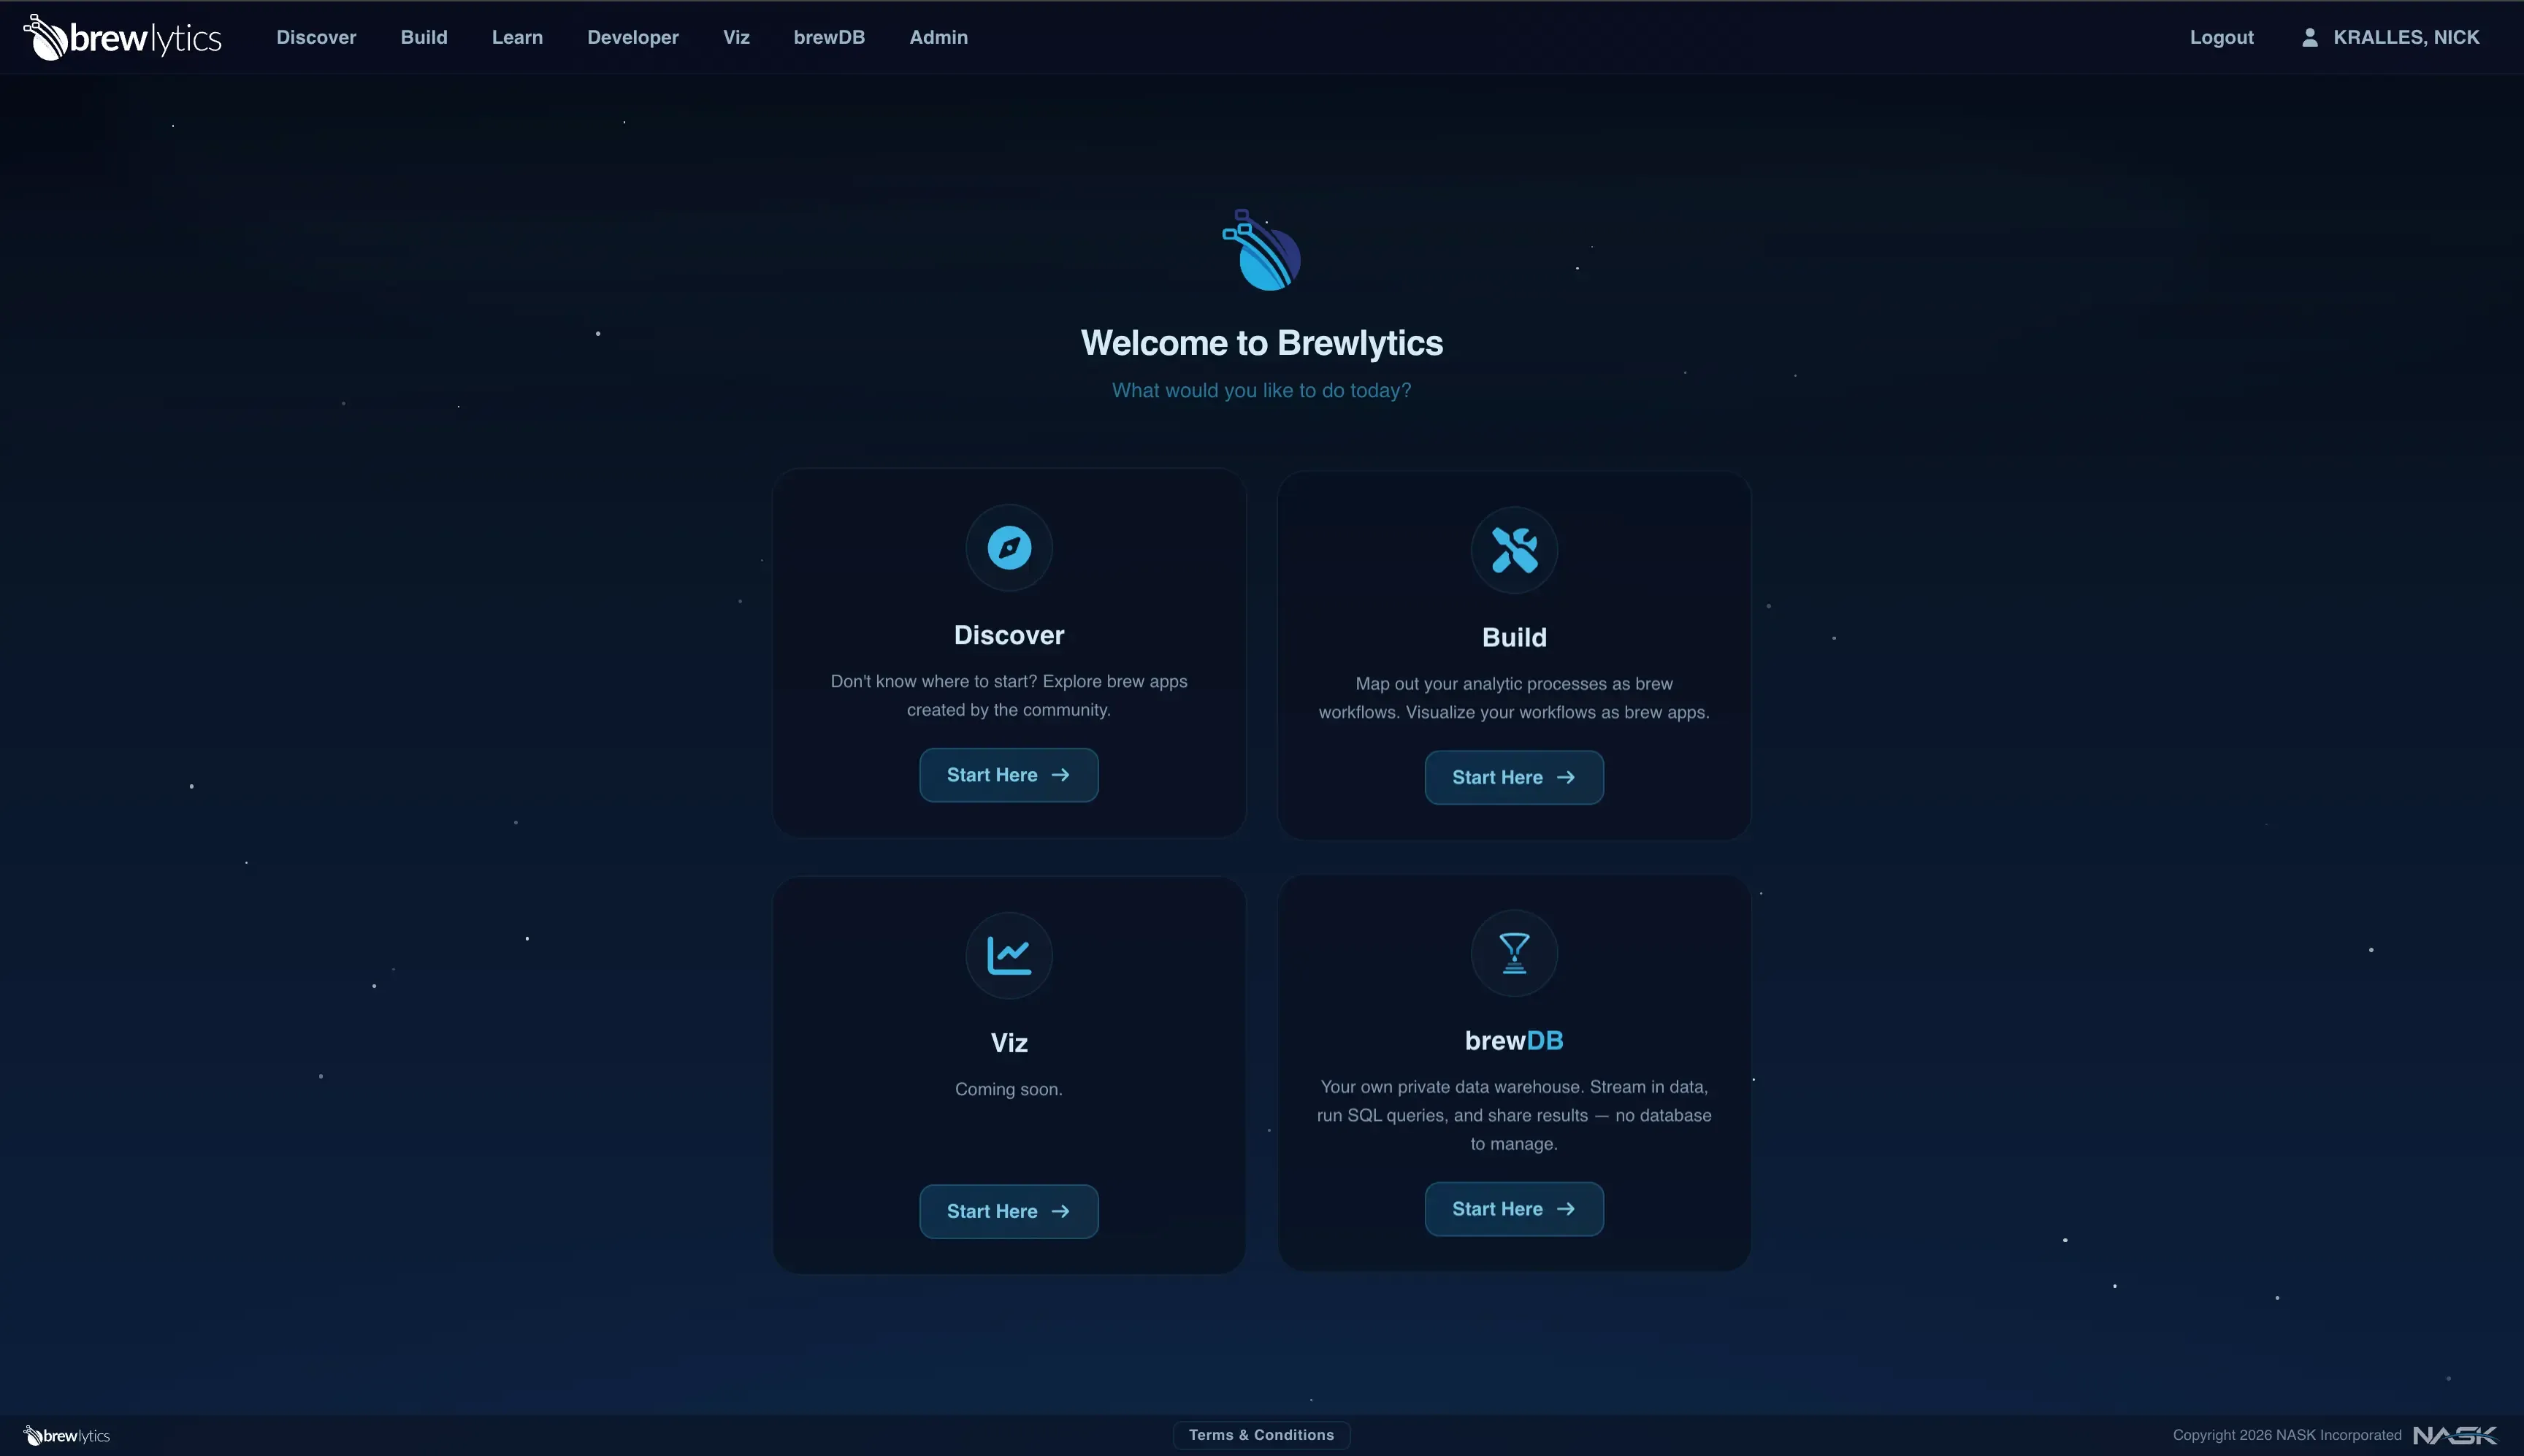
To start your first workflow, click the build card to open the Build Canvas and start a New Workflow.
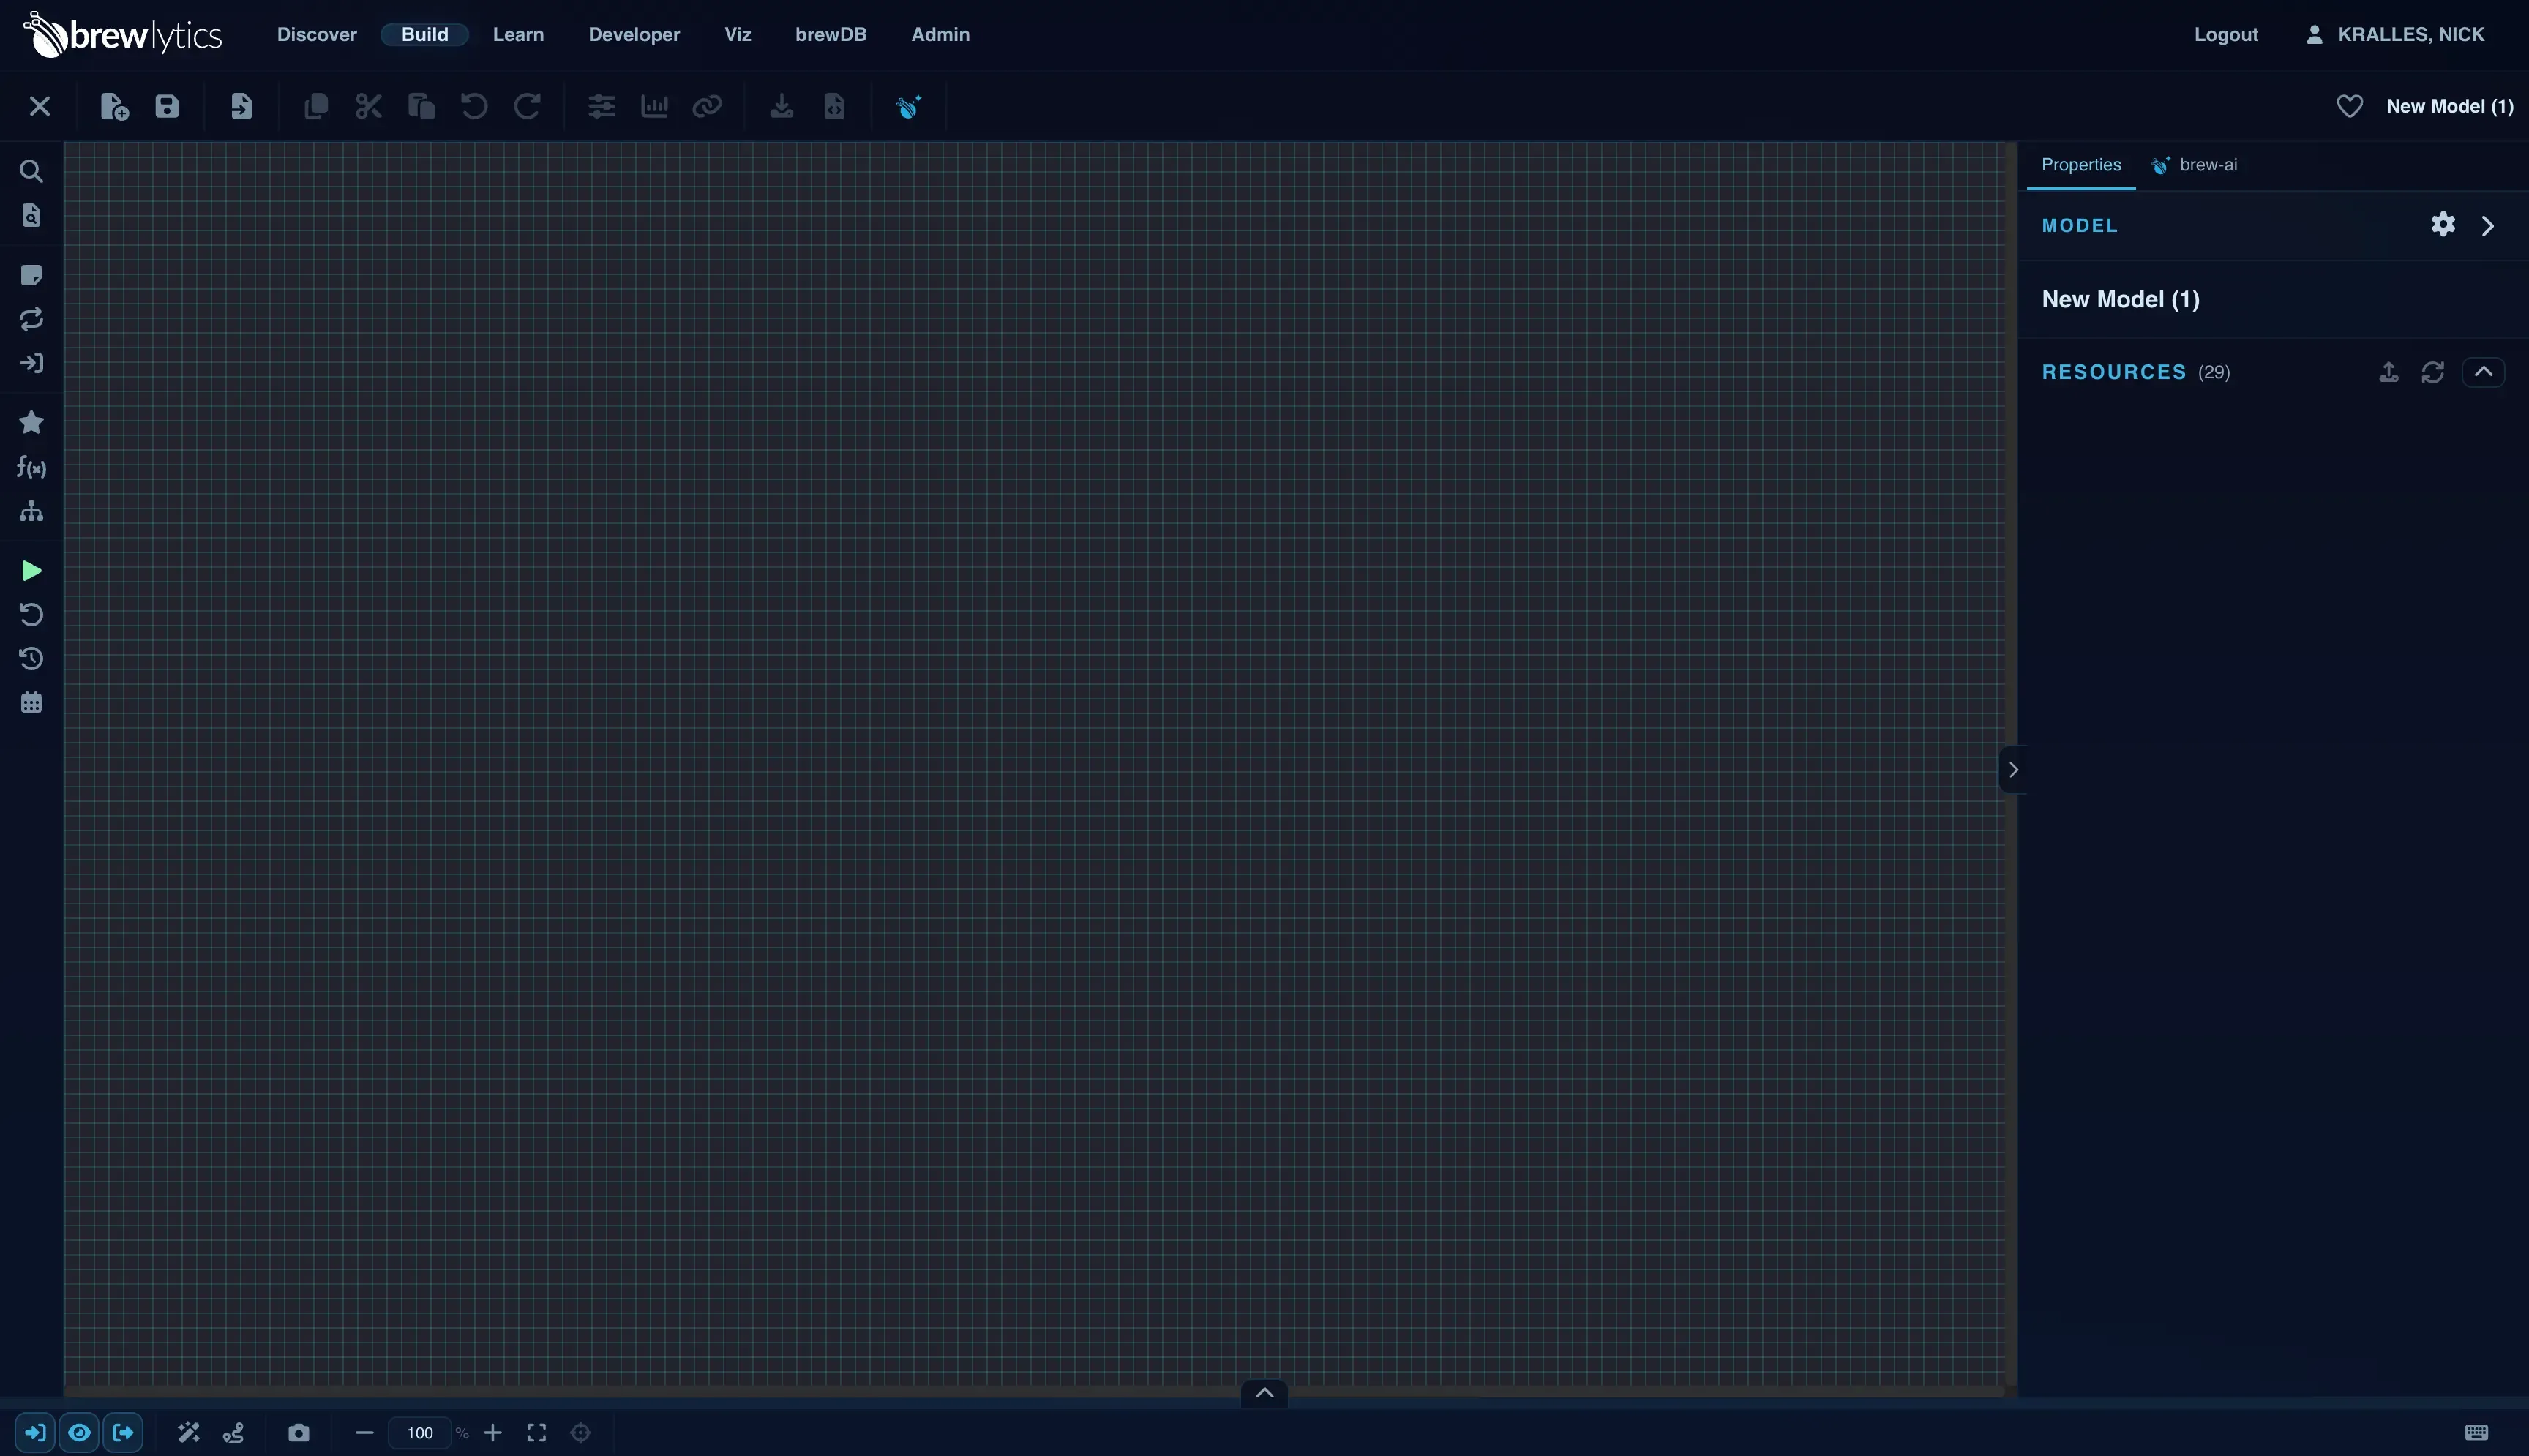
Canvas
Section titled “Canvas”“New Workflow” drops you onto a blank canvas, ready to build. The canvas toolbar — quick-search, run and reset controls, and execution feedback — is covered in full in Overview of Build; this walkthrough only calls out the parts you need for this example.
For this introductory example, we’ll build a simple workflow that produces a table of sample data, filters it, counts the results, and generates a human-readable summary of the count.
Search

Section titled “Search”Click the search icon (magnifying glass) on the canvas and type “list to table”.

Drag the “List to Table” result onto the canvas.
Functional (inputs)

Section titled “Functional (inputs)”Click the functional on the canvas to open its properties pane, which shows all of its available inputs and parameters.
Click the required “List” input and add four values: a, b, c, and d.
Executing the Workflow

Section titled “Executing the Workflow”Run the workflow using the canvas toolbar’s run control (see Overview of Build for the full toolbar reference). While the run is in progress, the live execution-status overlay lights up each component on the canvas — RUNNING, then DONE, ERROR, or CANCEL — so you can watch the workflow’s progress step by step.

Once the functional finishes and turns green, click it and scroll to the bottom of the properties pane to see the data it returned. From there you can download the output, or right-click it to download or open it in the Table Viewer.
After a run, you can also open the execution-history modal to review this run — and any past runs — along with their per-component outputs, which becomes especially handy once a workflow grows past a functional or two.
Improving the Workflow
Section titled “Improving the Workflow”Now that we know we have data coming back, let’s add another functional. Search for “filter” and drag the “Filter Table Rows” functional onto the canvas.

The small triangle next to the table, column, and filter-value inputs marks them as required — the workflow can’t run properly until they’re satisfied. Connect the output table from “List to Table” to the input of “Filter Table Rows”.
Fill out the remaining required inputs: filter the “Column1” column from the input table for rows that match “c”.

Next, add a “Count Table Rows” functional and connect it to the output of the filter functional. Running the workflow now yields a simple numeric result — which should be 1.

Finally, let’s turn that number into a human-readable sentence. Search for and add three more functionals: “Number to String” (to convert the count into text), “Define String” (to hold a label), and “Concatenate Strings” (to combine them).
In the Define String input, add the text The number of rows is: . Connect the outputs of “Number to String” and “Define String” into “Concatenate Strings” — ordering matters, so make sure the label comes before the number.
Saving Your Workflow
Section titled “Saving Your Workflow”Now that the workflow is finished, click the save button in the toolbar and give it a name, description, and any relevant tags.
Congratulations! You’ve just built your first workflow!