Building Your First Workflow
Follow along with this walkthrough to learn the basics of building a workflow within brewlytics
Landing Page
The landing page is the main entry point into brew. Users will be able to reach this page even if they do not have a brew account. Customers will often have their own landing page for their instance of brewlytics. You can access the main brewlytics landing page here.
The landing page will direct you to the login page for your instance of brewlytics.
The login page for this instance can be found here.
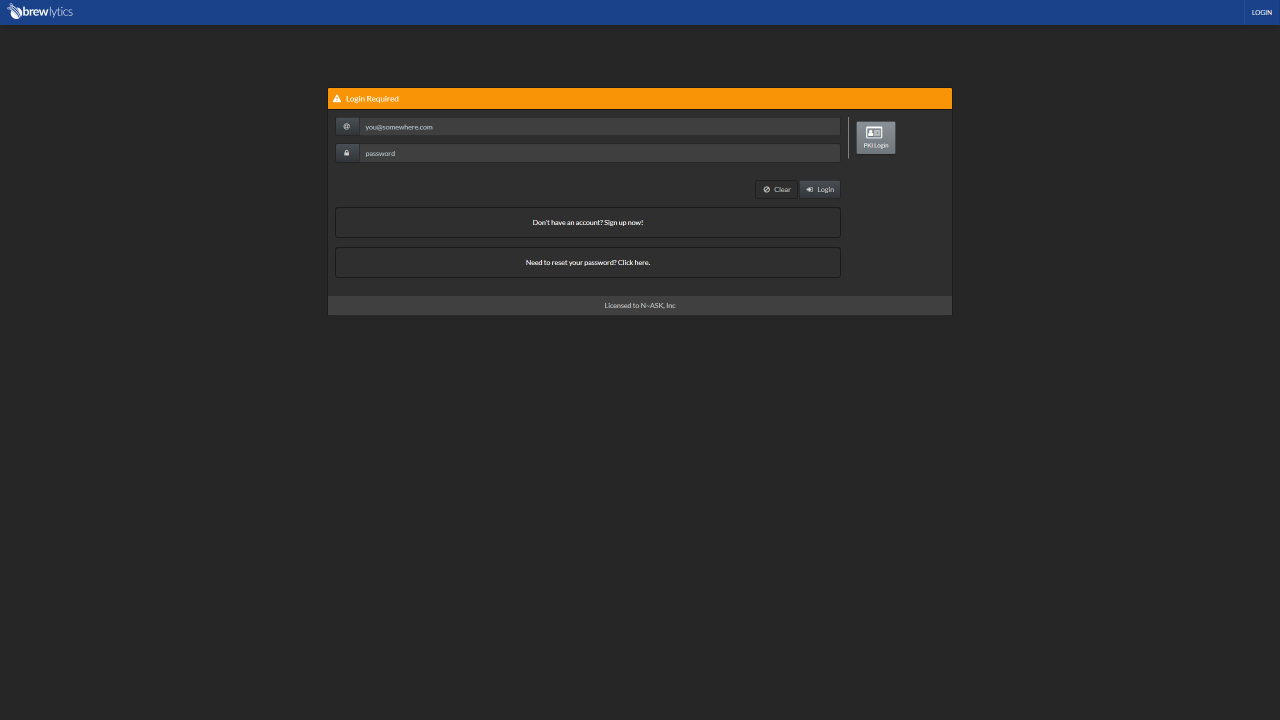
- Log into brewlytics using your username/pw or an OAuth option on the right side.
- If you do not have an account, click on the "Sign up Now!" option and wait for approval.
Dashboard
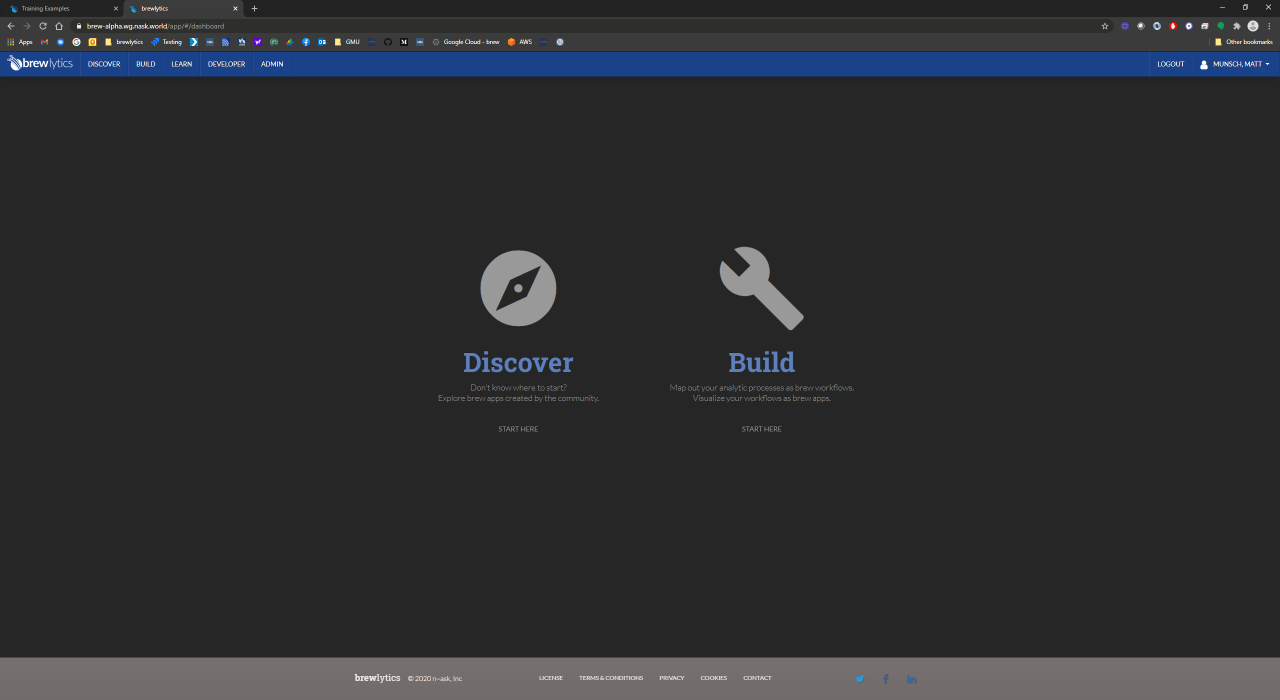
Once you have registered and/or logged in to brew you will be brought to the Dashboard page. The Dashboard is the main jumping off point for users inside the brew application.
> - Click on the "Build" section to launch the Build Dashboard
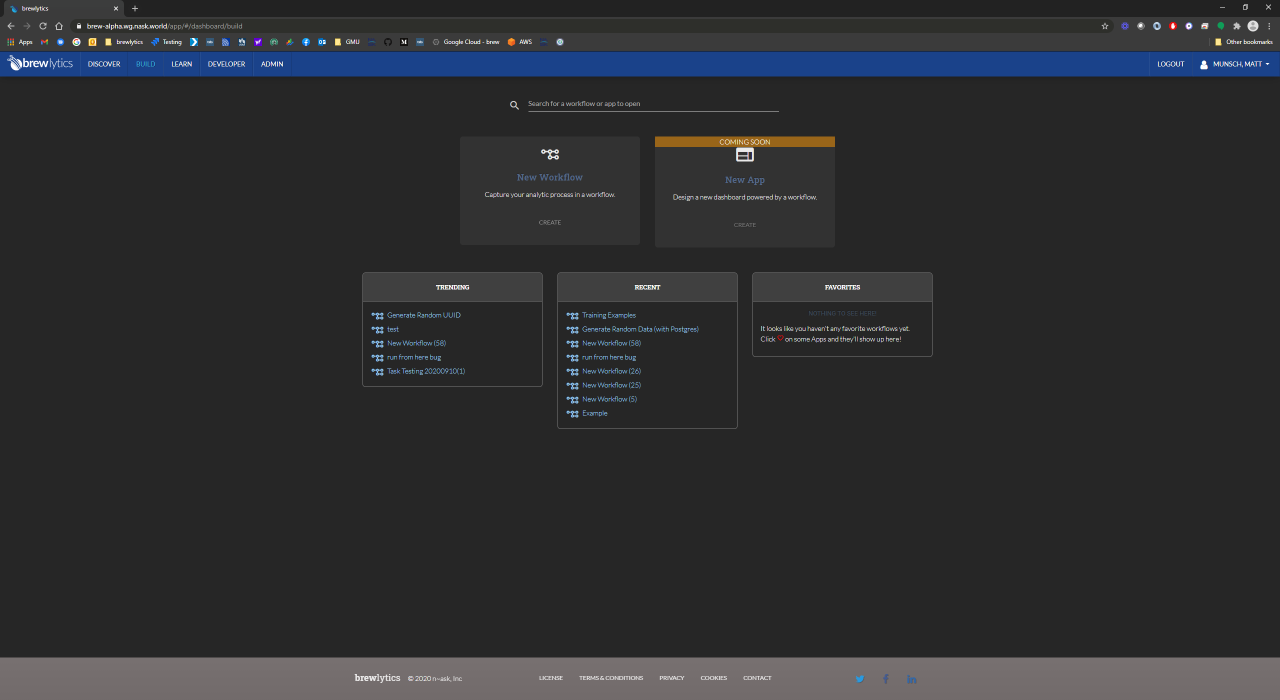
- To create your first workflow click the "New Workflow" button
Canvas
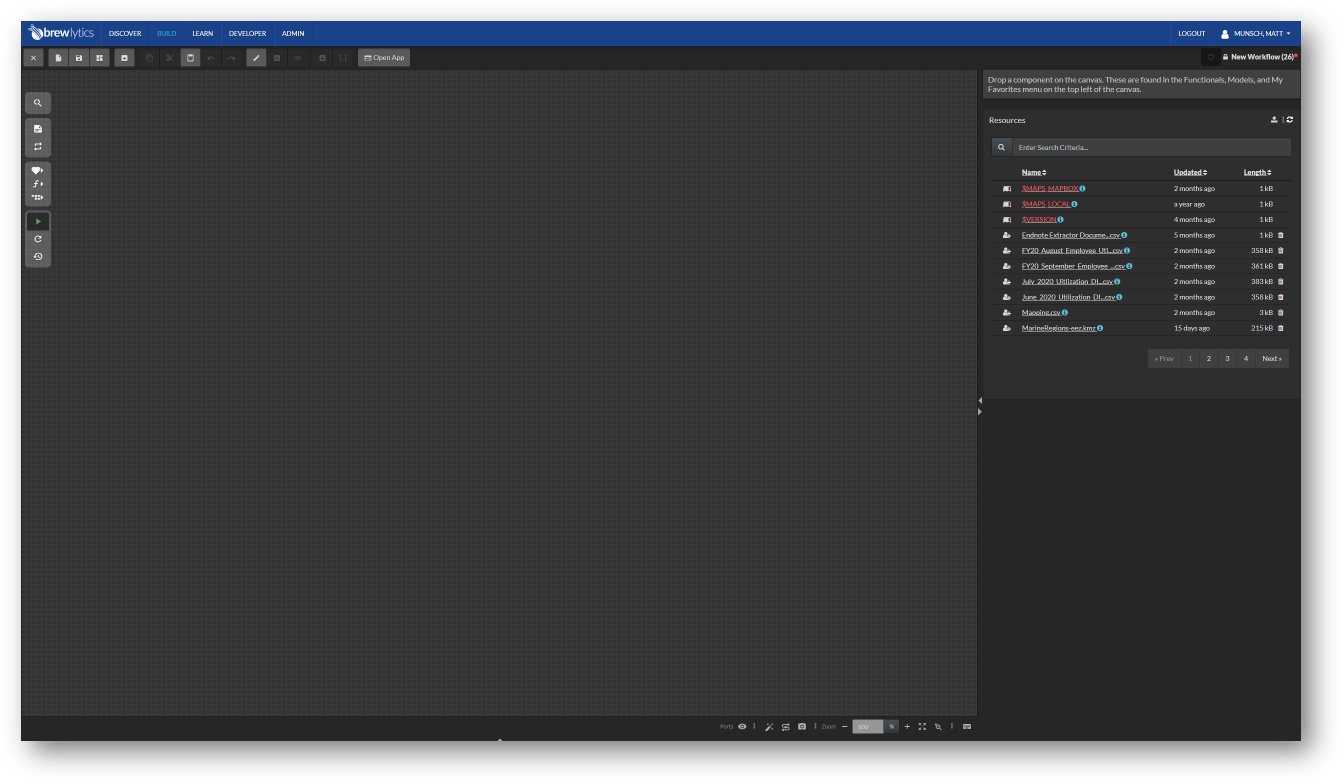
You will now be taken to a blank canvas where you can start building your workflow.
Please see the Overview of Build section for more information on Build
For this introductory example we will be building a simple workflow that produces a table of sample data, filters the results, performs a count on the table, and then generates a human readable report.
Search
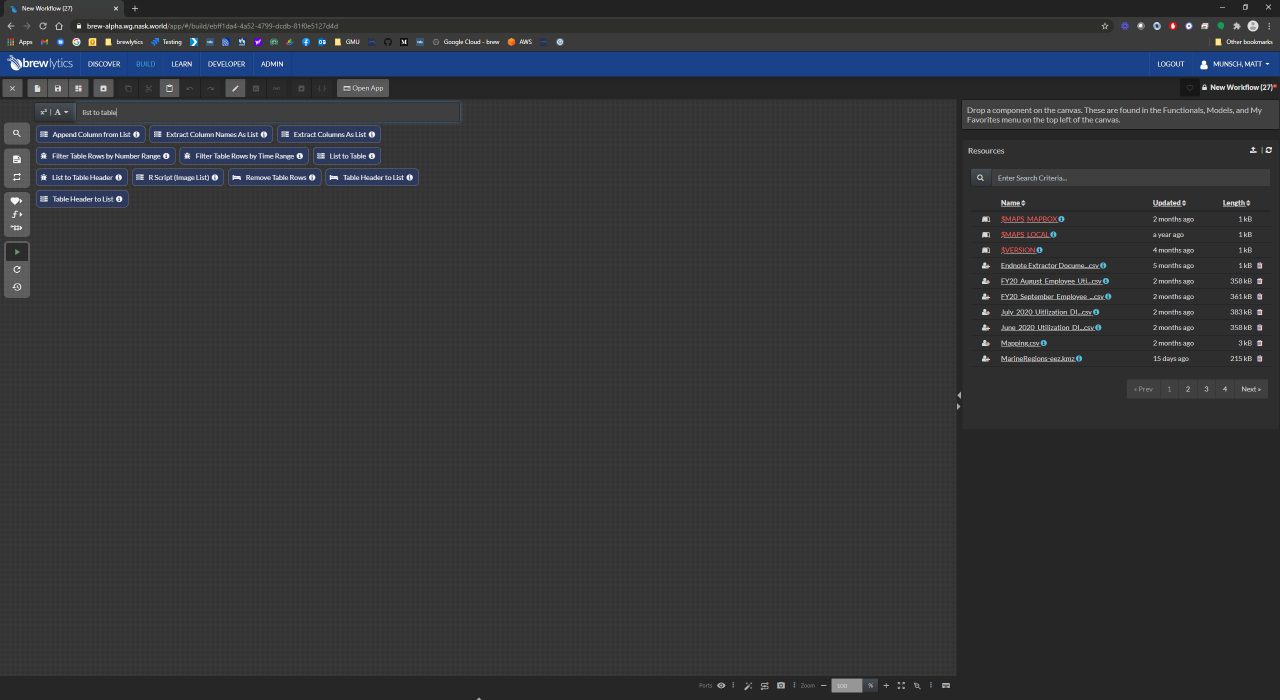
- Start by clicking on the search button (magnifying glass) at the top left and typing in the phrase "list to table".
- Drag and drop the "List to Table" functional onto the canvas
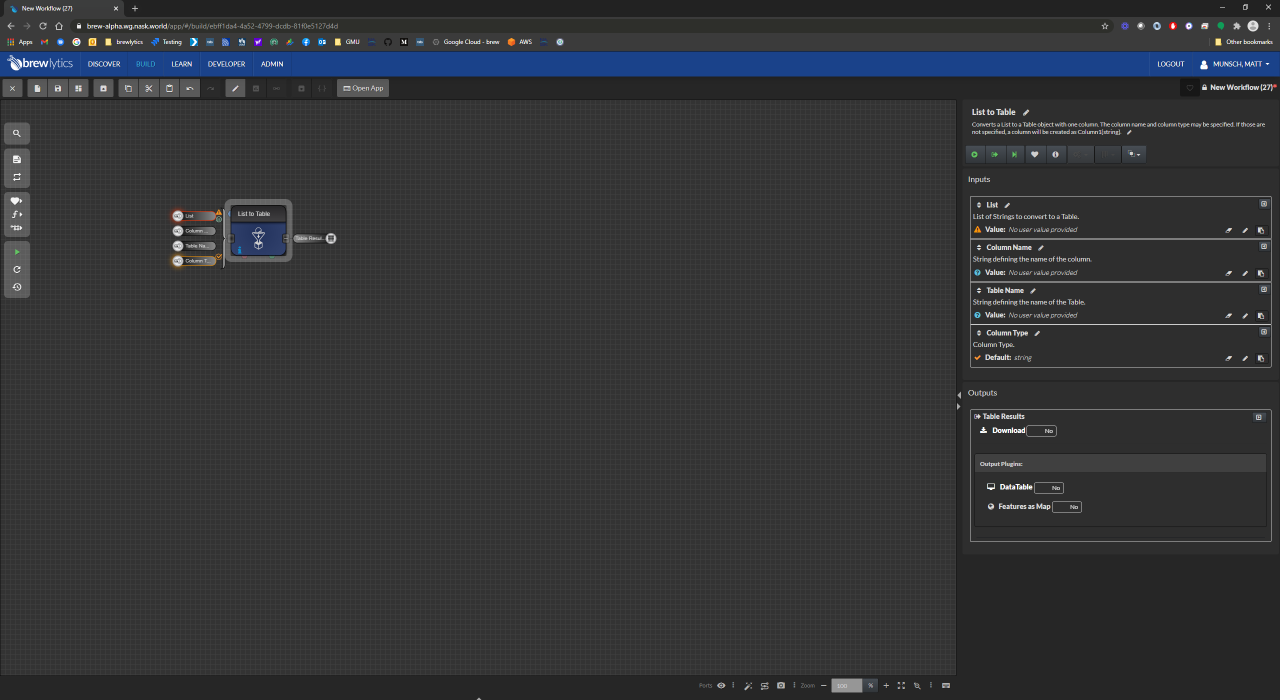
Functional
Click on the functional to view all of the available inputs/parameters (Right Pane)
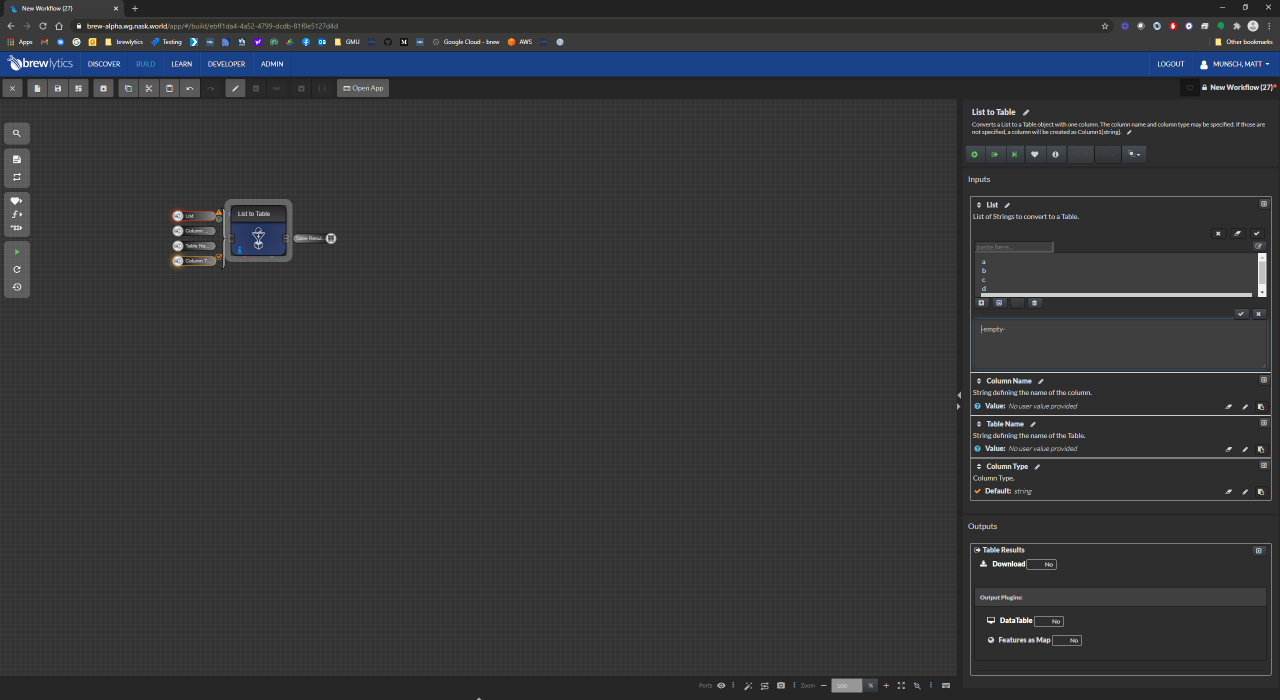
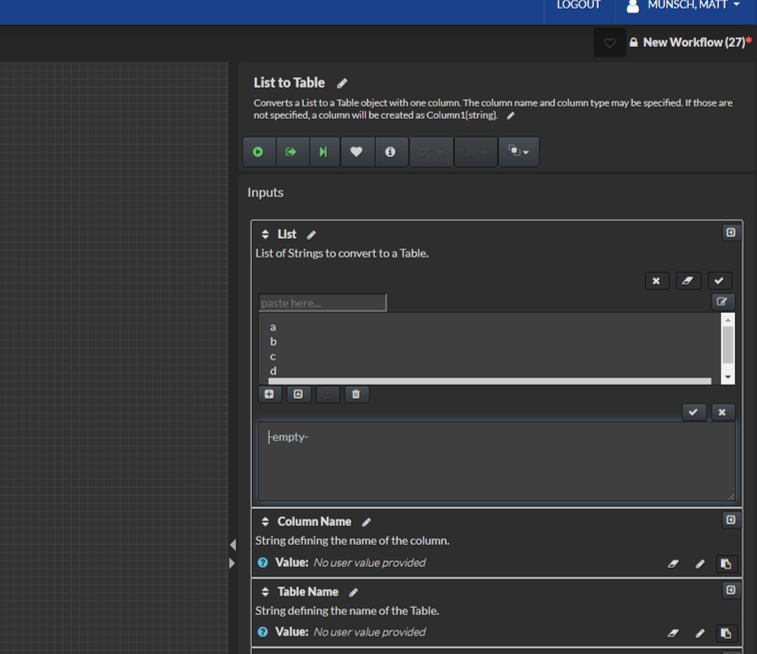
Click on the required input "List" and add the values a, b, c, and d, as shown below
Executing the Workflow
- Run the workflow clicking the Play/Run button on the left side of the canvas or by pressing the Alt+R keys
- Once the workflow is done running and the functional turns green, click on the functional and scroll down to the button of the parameter pane in order to view the data returned by the functional.
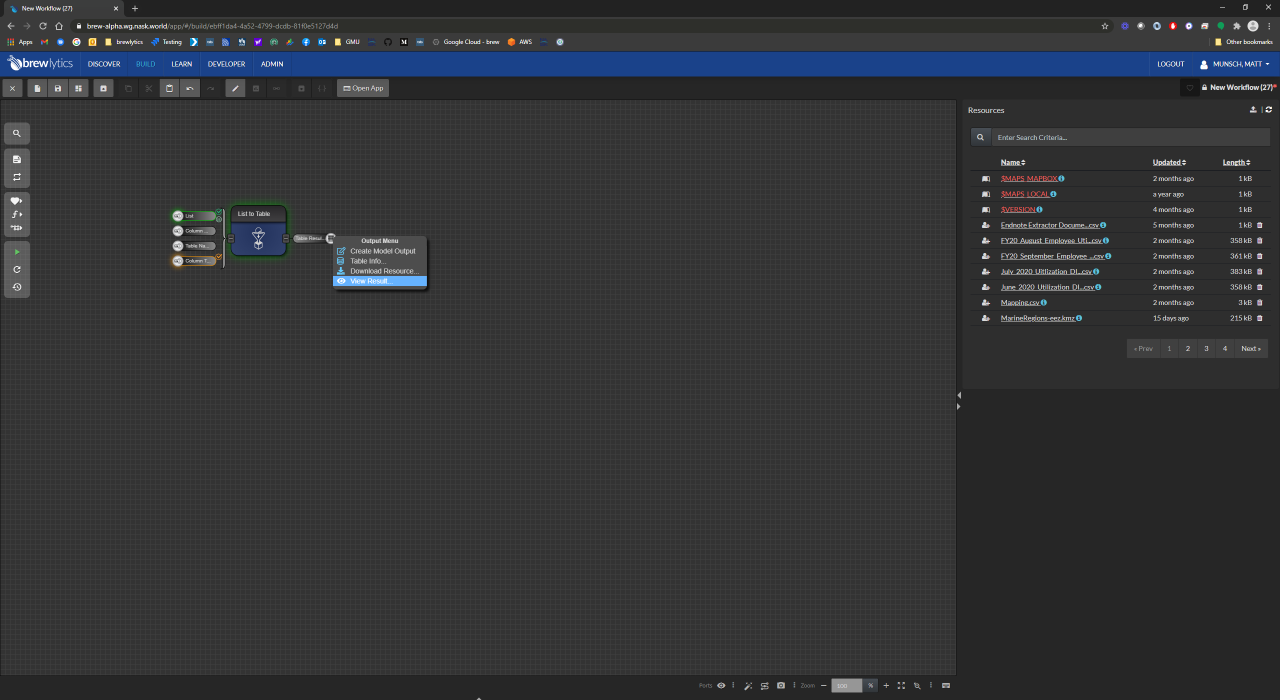
- Click on the Download button or view the data in the browser by using the "Data Table plugin
- You can also right click the output and either download the results or "View Result" to launch the data table plugin
Improving the Workflow
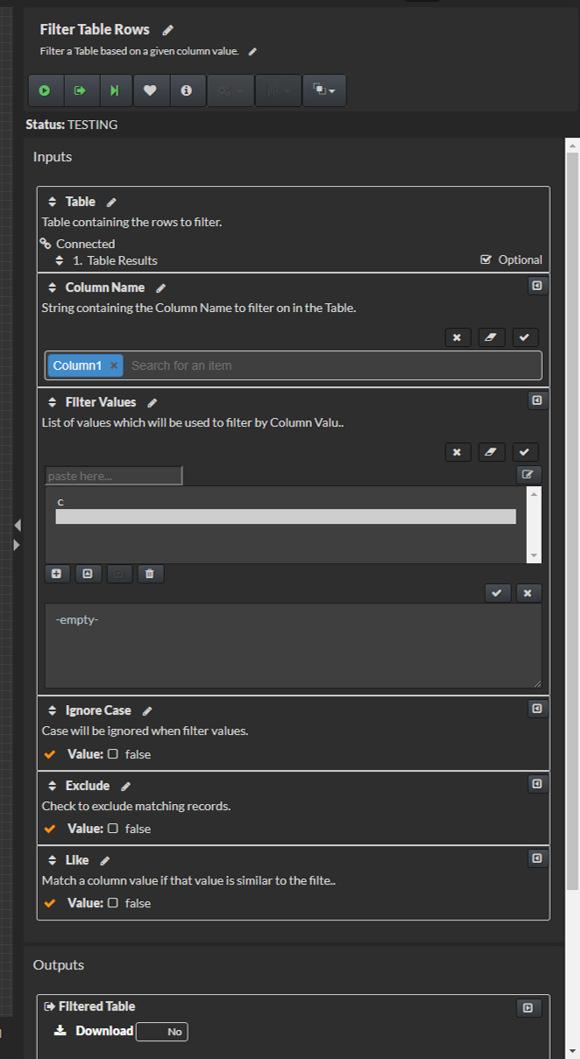
- Now that we know we have data coming back lets add another functional to this workflow. Search for "filter" and drag and drop the "Filter Table Rows" functional onto the canvas.
- The small triangle next to the table, column, and filter values inputs indicates that these are required inputs. This means that you have to satisfy the input in order for the workflow to execute properly.
- Connect the output table from our List to Table functional to the input of the Filter Table Rows functional.
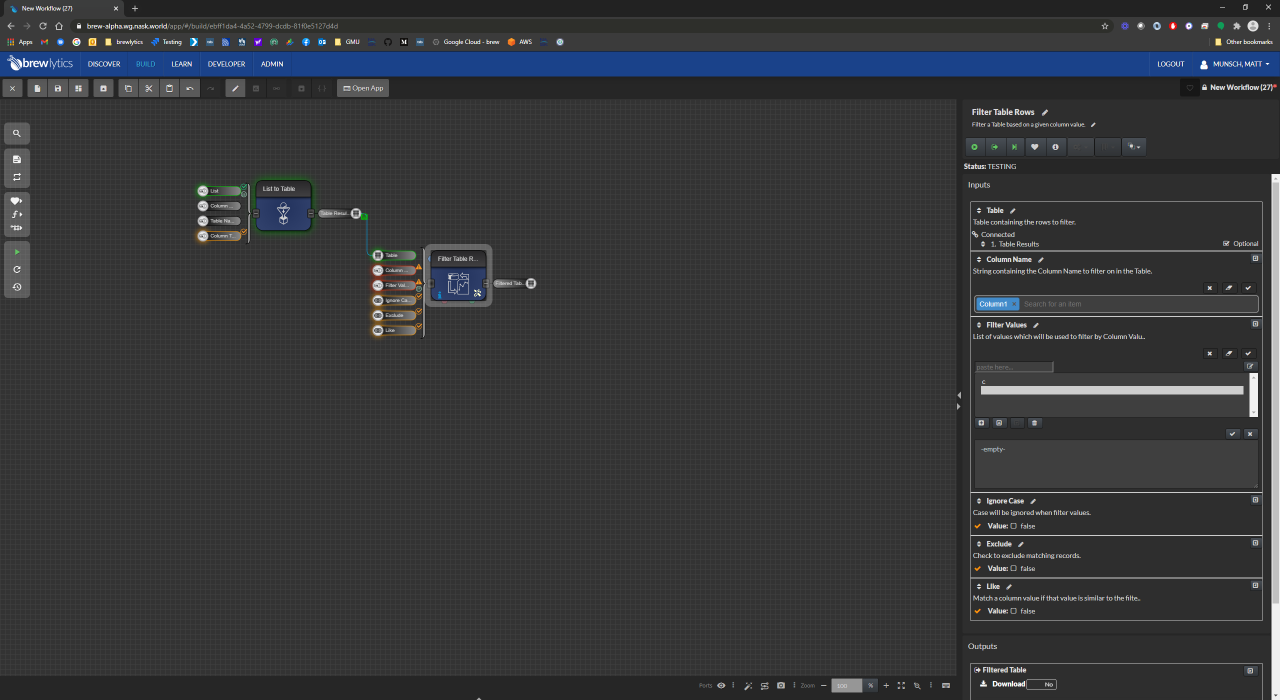
Fill out the other required inputs as shown below
We will filter the "Column1" column from the input table for rows that match "c"
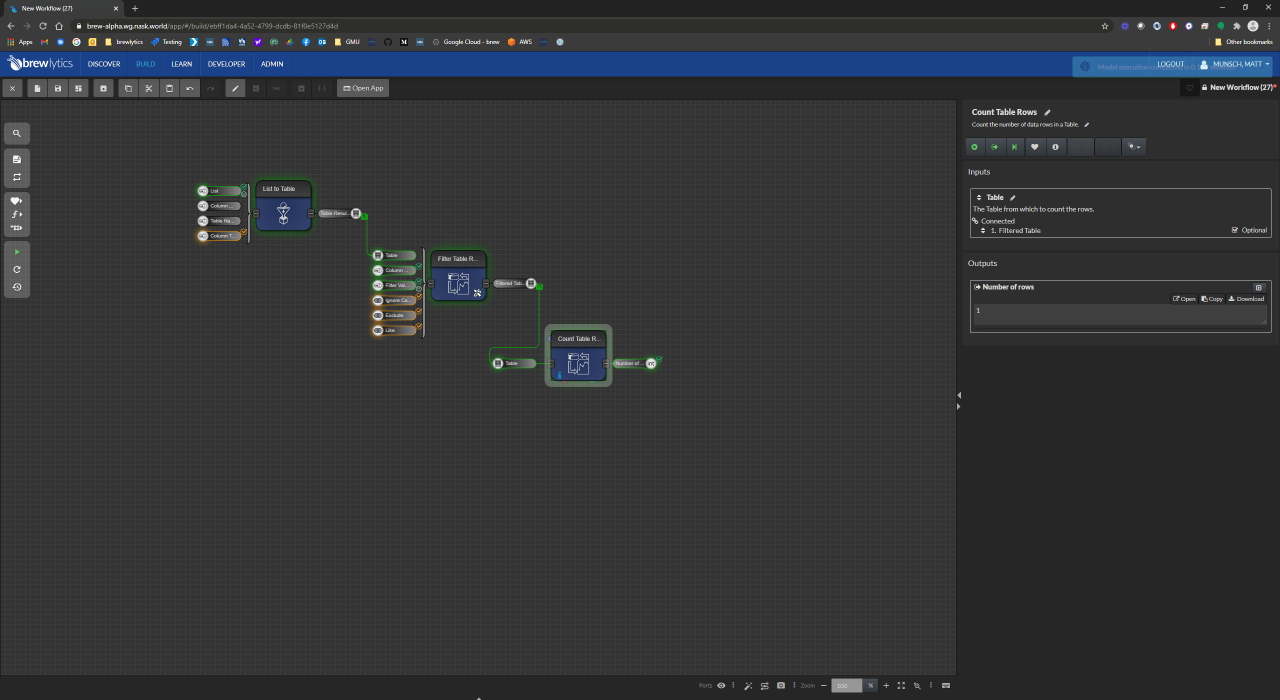
- Now let's add one more functional, "Count Table Rows" and hook that up to the output of the filter functional
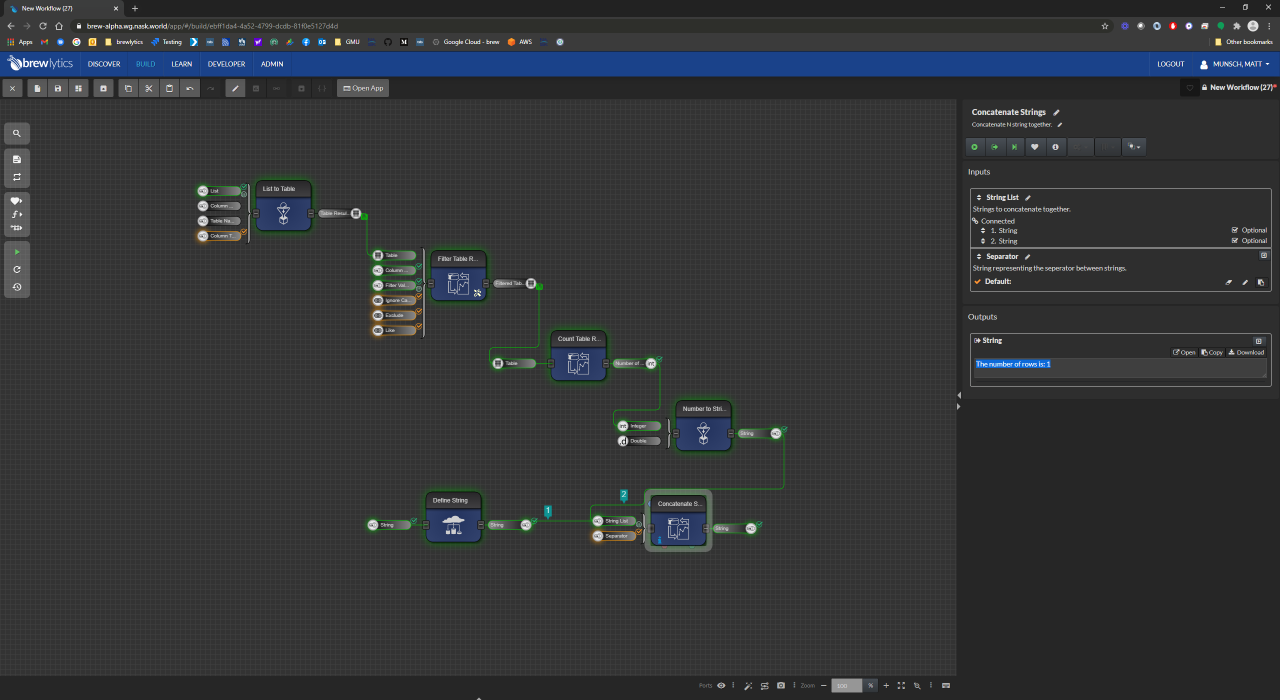
- Running the workflow will yield a simple numeric result (which should be 1!)
- Next, we will create a human readable output by using the concatenate strings functional
- In order to convert the numeric value into a string (text) we will need to use the Number to String functional
- To combine the strings we will need to use the Concatenate Strings functional
- To create an additional string we can use the Define String functional
- Search for these three functionals and add them to the canvas
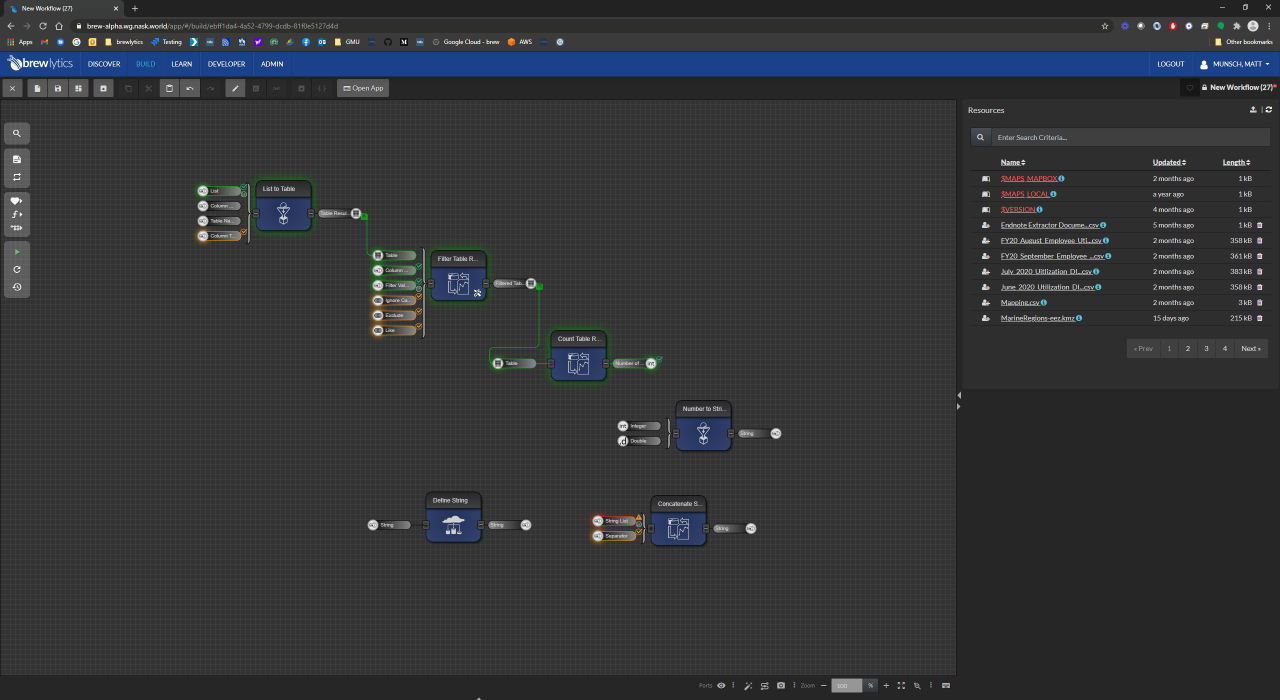
- Logically connect these functionals together as shown below
- ***In the define string input add the text, "The number of rows is: " ***
- Connect the outputs of the number to string functional and the define string functional to the Concatenate Strings functional
- Note that ordering matters!!
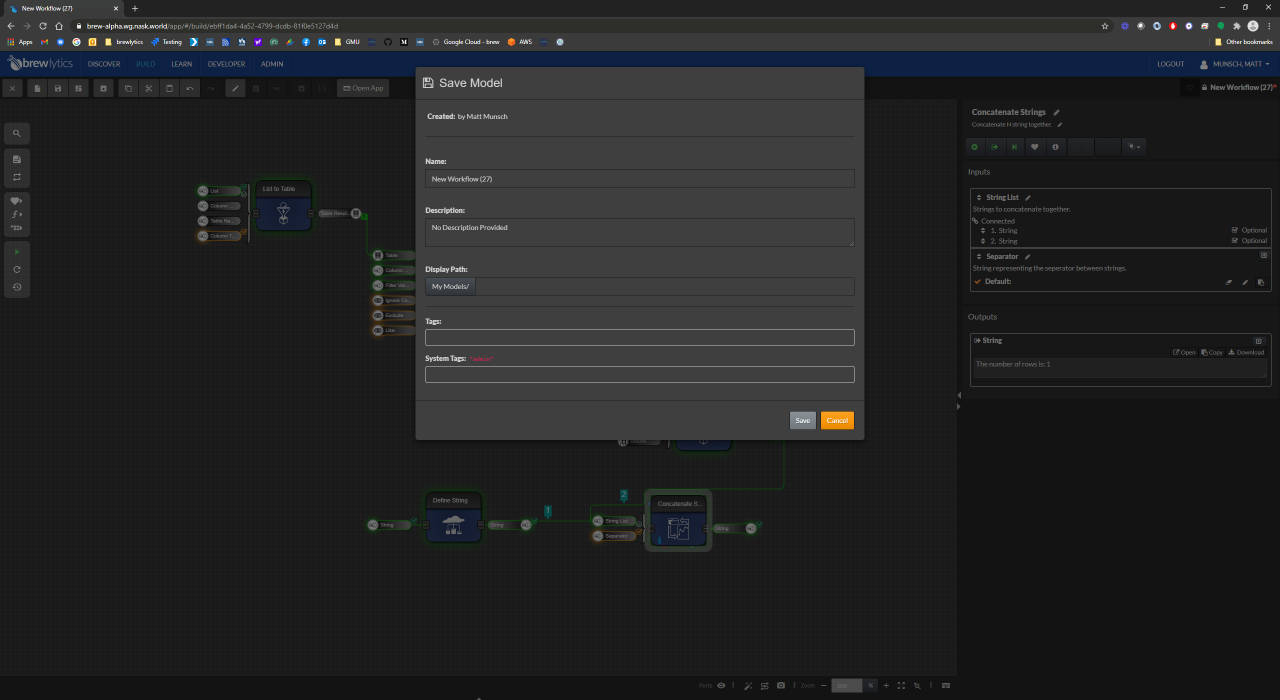
- Now that we're finished with the workflow we can click on the save button in the toolbar and give the workflow a name, description, and relevant tags.
Congratulations! You've just built your first workflow!!
