All About Iterators
The iterator is a feature that allows you to iterate or loop through a table of data within a brew workflow. Iterators provide immense flexibility when building brew workflows.
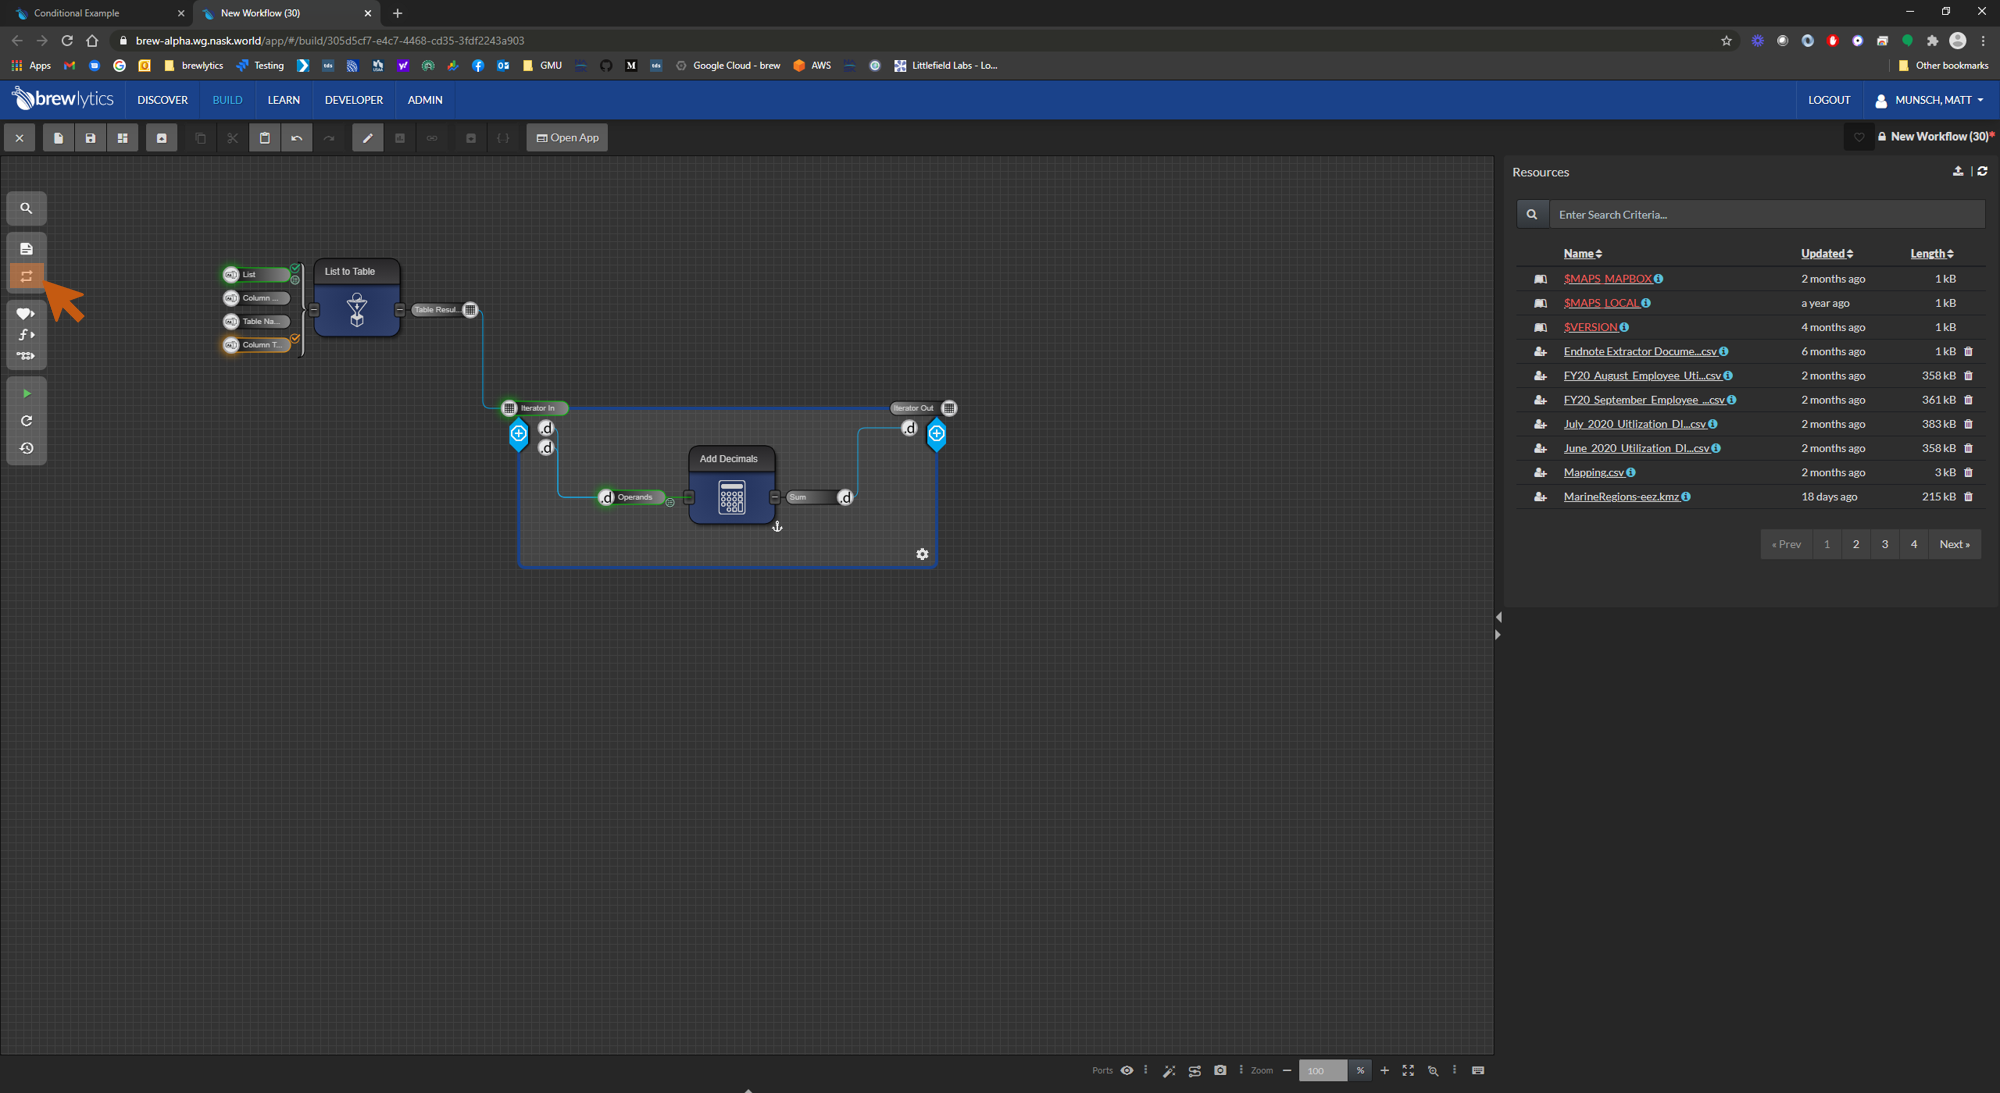
You can add an iterator into your workflow by dragging and dropping the "iterator" button on the left Canvas Toolbar onto the Canvas
Iterators are often used to...
- Perform operations on individual rows of data (format a value within a cell in every row)
- Perform queries on specific values within each row
- Batch execute workflows (using sub-workflows)
How do iterators work?
Just like functionals, the iterator expects an input to be provided to it. In this case, however, you only connect a single table input to each iterator. When the workflow is executed the input table will be iterated through and the functionals inside the iterator will be executed for each row in the input table. For example, if you have a table with 100 rows the functionals inside the iterator will be executed 100 times. These 100 executions are run in the same order supplied by the input table.
Iterators are used in two main ways..
- To modify an input table and produce an updated table with additional columns
- To run a a functional or series of functionals for each row inside the table and produce a new output
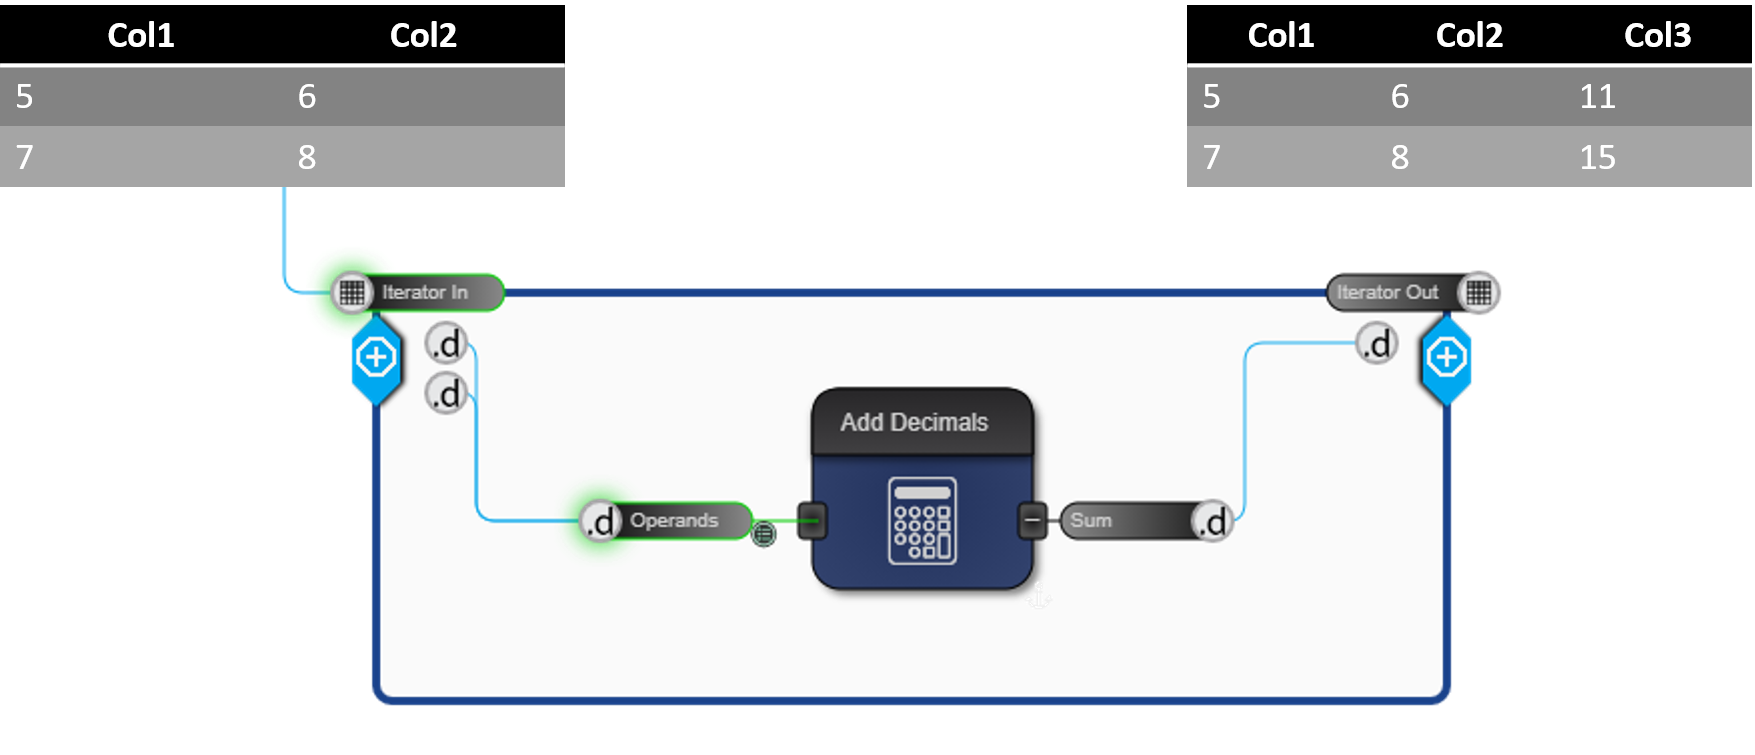
Let's take a look at a very simple example below which highlights an example table being input into the iterator. The iterator loops through the rows in the input table and applies the functional to each row to create a new output column.
Debugging
It is difficult to see what is happening inside an iterator. Functionals may encounter problems and suffer errors due to unforseen inputs or other factors. brewlytics provides the ability to retrieve a log in the form of a trace table of each iteration. This log consists of the iteration #, the exception (or exceptions), start and end time of the iteration, its duration in milliseconds, the iteration inputs and outputs. The exception, inputs, and outputs are formatted as JSON. Additionally, the execution log and the progress bar undet the iterator will display the # of errors encountered if any.
The trace table capture is enabled by clicking the cog in the lower right hand corner of the iterator. This extends a table connector output. The connector can be used as a normal CV Table output or simply as an indicator that the capture trace is enabled. Once the model is executed, the trace capture is avaialble in the same manner as any other table output.
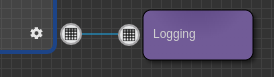
It is important to note when a model is saved, the trace table feature is automatically turned off unless it is connected to downstream functionals. This is done to save resources.
Below are examples of an unselected cog, selected cog, and connected cog.